Roof Repair Coating: Complete Construction Guide
Pre-Construction Preparation
Material and Tool Selection
Choosing the right materials and tools is essential to the success of a roof restoration project. It directly impacts coating adhesion and overall performance.
Coating products: Choose based on roof substrate — rust-proof coatings for metal roofs, and elastic coatings for concrete surfaces.
Surface preparation: Ensure the surface is clean, dry, and free from contaminants, debris, grease, or loose particles.
Weather conditions: Avoid application in temperatures below 40°F (5°C) or within 24 hours of expected rainfall.
Application methods: Follow the manufacturer's guidelines based on coating type and roof age.
Tools: Brushes, rollers, and spray equipment can all be used. Spray tools are better for large areas, while brushes and rollers are ideal for details.
? Tip: Always read product instructions before purchasing or applying.
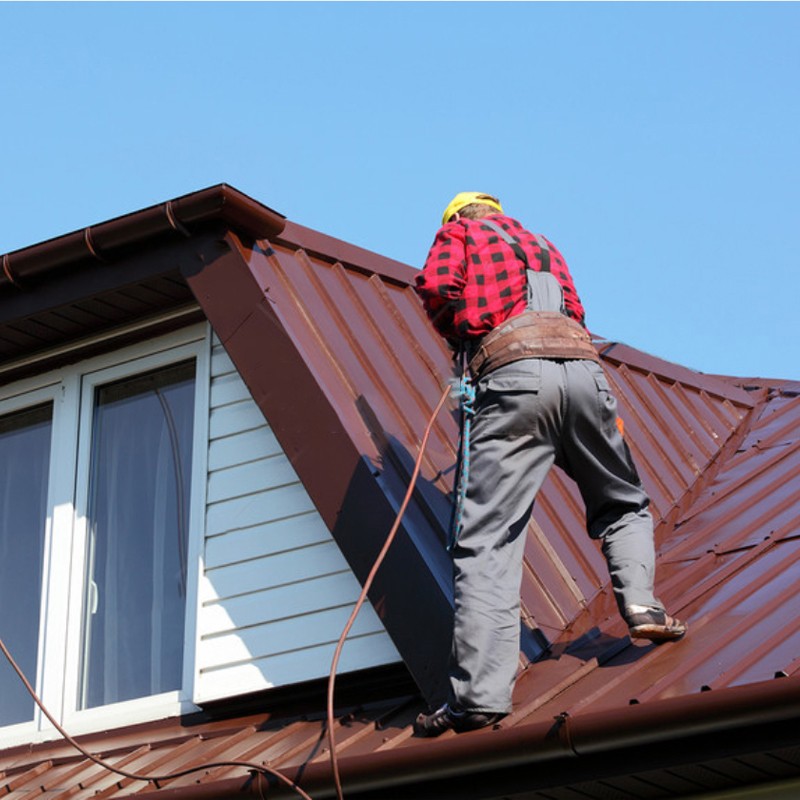
Inspection and Cleaning of the Roof Substrate
Before construction, thoroughly inspect and clean the roof substrate. This step ensures the coating's adhesion and performance. Here are the recommended inspection and cleaning methods:
Cleaning Method | Description |
Dry vacuum cleaning | Removes surface dirt and debris without introducing moisture. |
High-pressure washing | If necessary, ensure the surface is dry before coating. |
During the inspection, pay attention to the following:
- Cracks or damage on the roof. If issues are found, repair them beforehand.
- Loose particles or contaminants on the surface, as these can affect the coating's adhesion.
- Whether the roof is completely dry. A damp surface can cause the coating to peel or bubble.
For cleaning, choose dry vacuum cleaning or high-pressure washing. If using high-pressure washing, ensure the roof is completely dry afterward. After cleaning, recheck the roof to confirm it meets the construction requirements.
Note:
Before applying elastic coatings, the roof must be thoroughly cleaned to ensure optimal results.
Methods for Detailing Additional Layers
Detailing additional layers in roof repair focuses on vulnerable areas such as edges, seams, and around pipes. These areas are prone to leaks and require special treatment.
Follow these steps during construction:
1. Local Cleaning: Use dry vacuum cleaning or high-pressure washing to ensure detailed areas are free of dirt and loose particles.
2. Apply Reinforcement Coating: Brush a layer of reinforcement coating in these areas to enhance waterproofing.
3. Lay Additional Materials: While the coating is still wet, lay waterproof fabric or fiberglass cloth to increase strength.
4. Reapply Coating: Apply another layer of coating over the additional material to ensure full coverage.
Note: Detailing additional layers requires patience and attention to detail. Any oversight can lead to future issues.
Techniques for Layered Coating Application
Layered coating application is a core step in roof repair. It ensures even thickness and enhances the coating's protective performance.
Here are the techniques for layered coating:
First Layer: Ensure the coating evenly covers the entire roof. The first layer acts as a primer, providing a good base for subsequent layers.
Drying Time: Allow each layer to dry completely. Acrylic coatings typically dry quickly, while polyurethane coatings may take longer.
Second Layer: After the first layer is completely dry, apply the second layer. This layer enhances protection and forms a complete waterproof membrane.
Application Direction: Each layer should be applied perpendicular to the previous one to ensure even coverage and avoid missed spots.
Acrylic coatings are commonly used as high-reflectivity roof coatings and are suitable for various applications. Polyurethane coatings offer stronger physical properties and water resistance, making them ideal for roofs requiring high durability.
Tip:
Avoid applying too thick a layer at once. Layered application improves adhesion and prevents cracking or bubbling.
Coating Curing and Quality Inspection
After the coating is applied, curing and quality inspection are critical to ensure performance. Proper curing allows the coating to reach its optimal state and extends its lifespan. Quality inspection helps identify potential issues, avoiding future repair costs.
Basic Methods for Coating Curing
The initial curing stage requires special attention to environmental conditions. Here are some important curing methods:
Keep Dry: Avoid exposure to moisture or humidity after application. Typically, 24 to 48 hours of drying time is required.
Avoid Physical Stress: Do not walk on or place heavy objects on the coating until it is fully cured.
Regular Inspection: During curing, regularly check the coating surface for cracks or bubbles.
Tip:
In high or low temperatures, curing time may be extended. Adjust the curing time based on actual conditions.
Key Indicators for Coating Quality Inspection
Quality inspection is essential to ensure the coating meets expectations. Evaluate the coating quality using the following indicators:
Indicator | Descriptio | Standard |
Adhesion | The bonding strength between the coating and substrate. | Adhesion level 0-1 |
Concrete surface roughness | According to ICRI Technical Guideline 310, the coating should adhere to CSP | CSP 3 to 5 |
During inspection, use simple tools like a pull-off tester to check adhesion. If adhesion is insufficient, the substrate may need reprocessing or the coating may need replacement.
Ensuring Long-Term Coating Performance
To maintain the coating's performance over the years, take the following measures:
1. Regular Cleaning: Remove dust and dirt from the coating surface to prevent degradation.
2. Inspect Seams: Pay special attention to edges and areas around pipes, checking for peeling or damage.
3. Prompt Repairs: Address minor damage immediately to prevent larger issues.
These measures can extend the coating's lifespan and reduce the frequency of roof repairs.
Note: Regular maintenance not only preserves the coating's protective performance but also saves long-term repair costs.
Tips and Precautions for Roof Repair Construction
Temperature and Humidity Control Requirements
Temperature and humidity are critical factors affecting coating performance during roof repair. Ensure the construction environment meets the coating's requirements to avoid cracking, bubbling, or poor adhesion. Here are some practical tips:
Follow Temperature Limits: Most coatings are suitable for application between 5°C and 35°C. Low temperatures prolong drying time, while high temperatures may cause premature curing, affecting adhesion.
Avoid High Humidity: Temperature: 5°C-35°C, avoid extreme heat or frost.
Humidity: [Relative humidity ≤80%]{.mark}. Avoid construction during rain, snow, or strong winds.
Check Weather Forecasts: Ensure no rain or extreme weather is expected during construction. Rain can dilute the coating and affect performance.
Tip:
Before construction, mix the coating properly and ensure the substrate is clean and dry for uniform color and optimal reflectivity.
Key to Even Coating Application
Even application determines the coating's protective effect and appearance. Master the correct techniques to avoid missed spots, uneven thickness, or buildup. Here are some practical methods:
Clean the roof surface: Before construction, thoroughly remove debris and contaminants to ensure even adhesion.
Choose the Right Tools: Select brushes, rollers, or spray equipment based on the area. Brushes are ideal for detail work, while rollers and spray equipment suit larger areas.
Layered Application: Apply thin layers, allowing each to dry completely before the next. This prevents buildup or cracking.
Alternate Application Direction: Apply each layer perpendicular to the previous one for even coverage.
Note:
Advanced technologies like modified asphalt membranes offer excellent adhesion and durability, reducing future leakage risks.
Common Issues and Solutions
During roof repair, you may encounter common issues. Here are solutions to improve construction quality:
Bubbling: Often caused by a damp substrate or high humidity. Ensure the substrate is dry and work in humidity below 80%.
Peeling: May result from an unclean surface or incompatible coating. Clean the surface and choose a compatible coating.
Uneven Thickness: Usually due to improper application or tool selection. Layered application and proper tools can resolve this.
Case Study:
A study in California demonstrated waterproof roof coatings' significant effects in reducing leaks and saving energy. Another case study showed cool roof coatings not only lowered energy costs for businesses but also reduced maintenance expenses.
By following these tips and precautions, you can enhance roof repair quality and extend the roof's lifespan.

